Thinking about upgrading your home theater setup? You might be wondering whether a 4K or 8K TV is the right…
Read More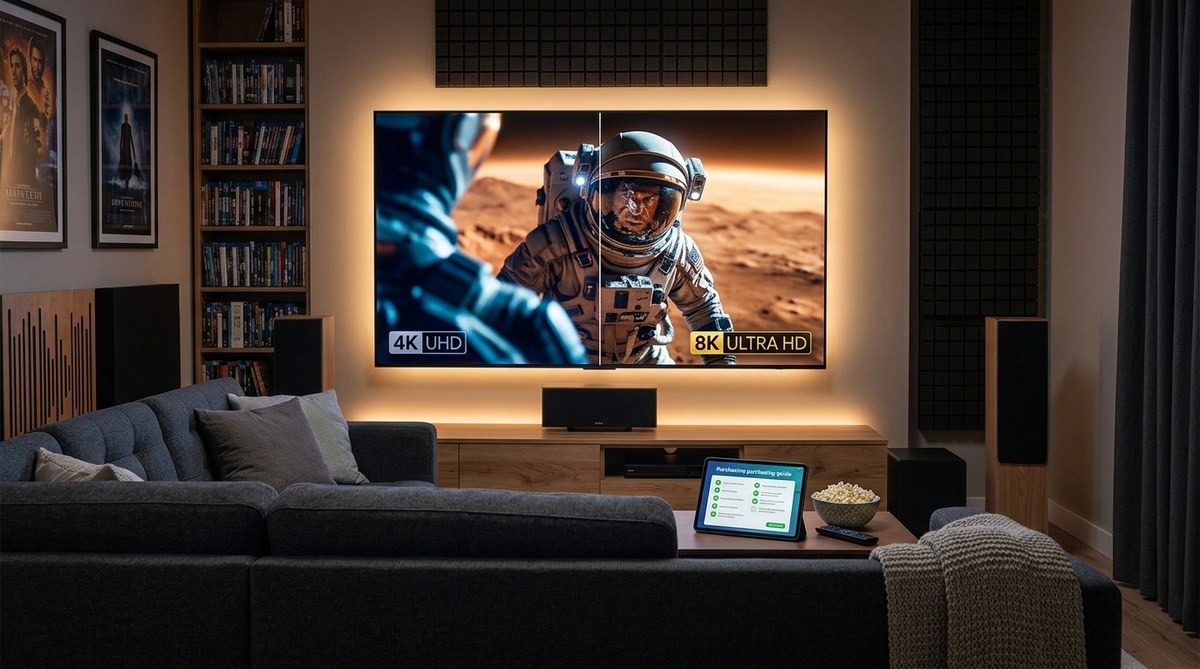
Thinking about upgrading your home theater setup? You might be wondering whether a 4K or 8K TV is the right…
Read More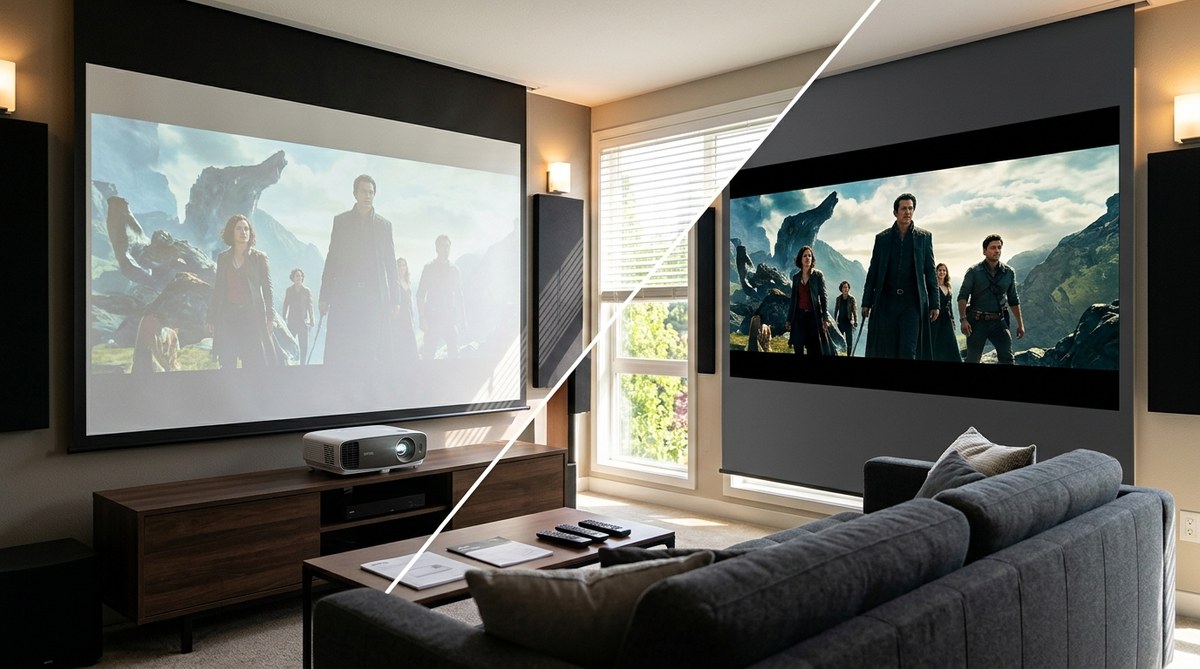
Home theater enthusiasts often ask whether investing in an ambient light rejecting (ALR) screen is worth it. The idea sounds…
Read More
That low, persistent hum from your subwoofer can ruin an otherwise perfect movie night. The good news is that most…
Read More
You spent good money on a 5.1 or 7.1 surround sound system, but explosions sound flat and ambient effects feel…
Read More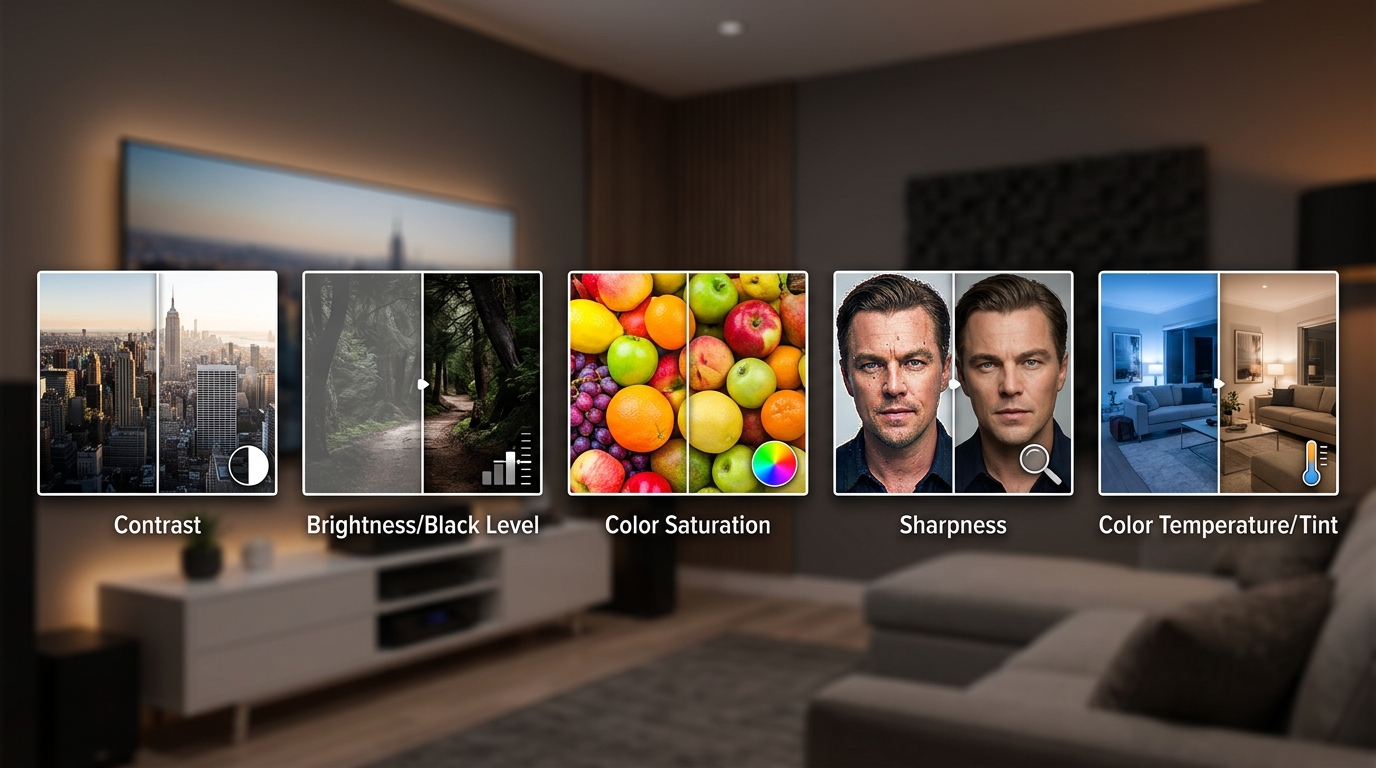
You unbox your shiny new TV, plug it in, and immediately notice something feels off. Colors look cartoonish. Motion feels…
Read More
Behind your entertainment center, there's probably a tangled mess of black cables that all look identical. When something stops working…
Read More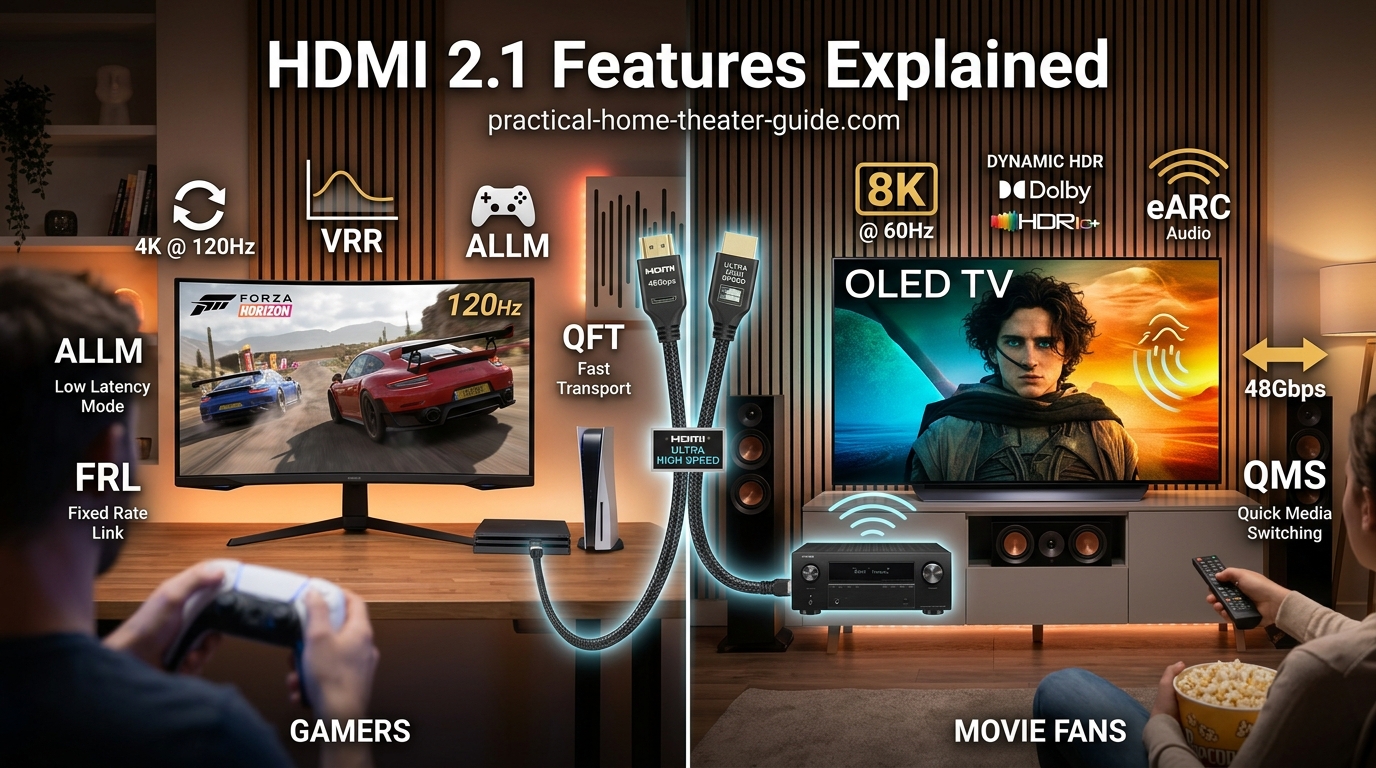
You're standing in the electronics store, staring at two TVs with nearly identical specs. One costs $300 more and lists…
Read More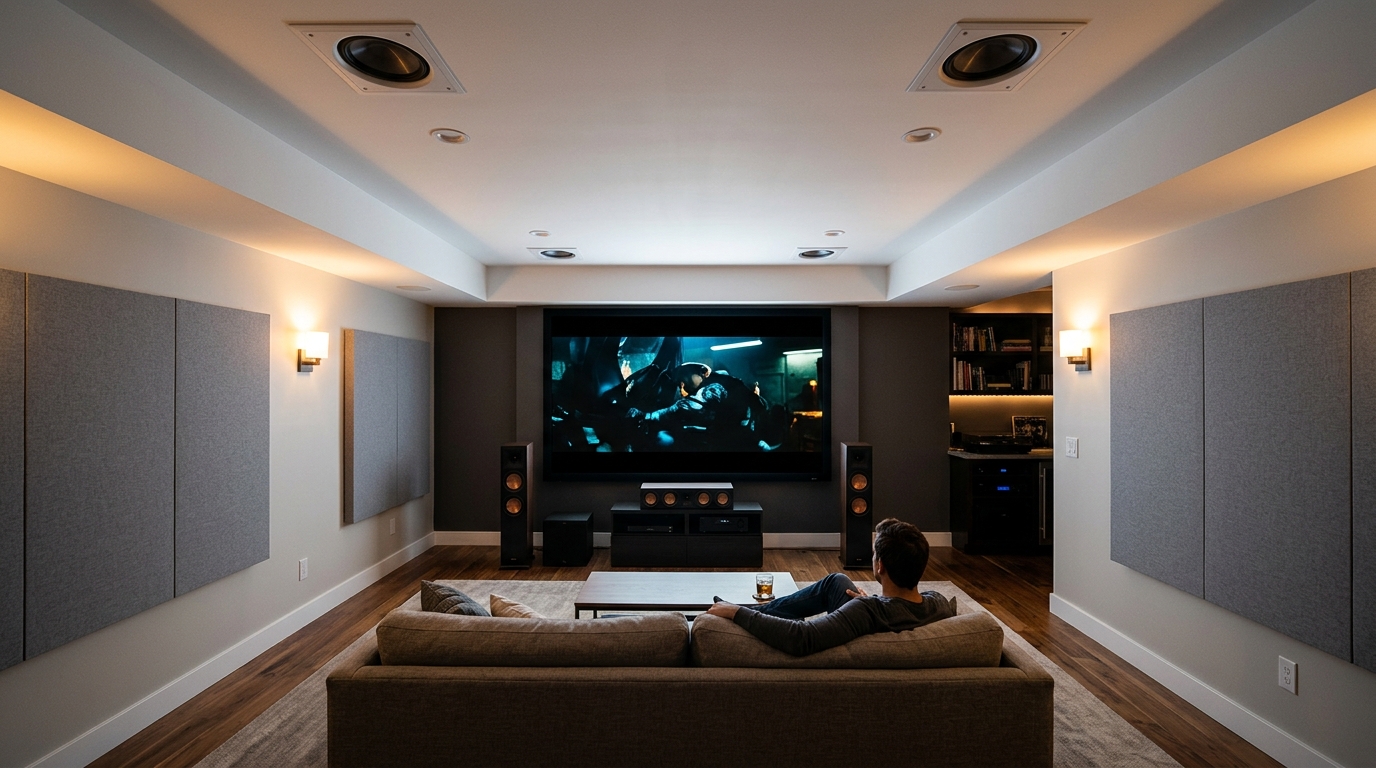
Dolby Atmos promises overhead sound that puts you inside the action, but most installation guides assume you have a perfect…
Read More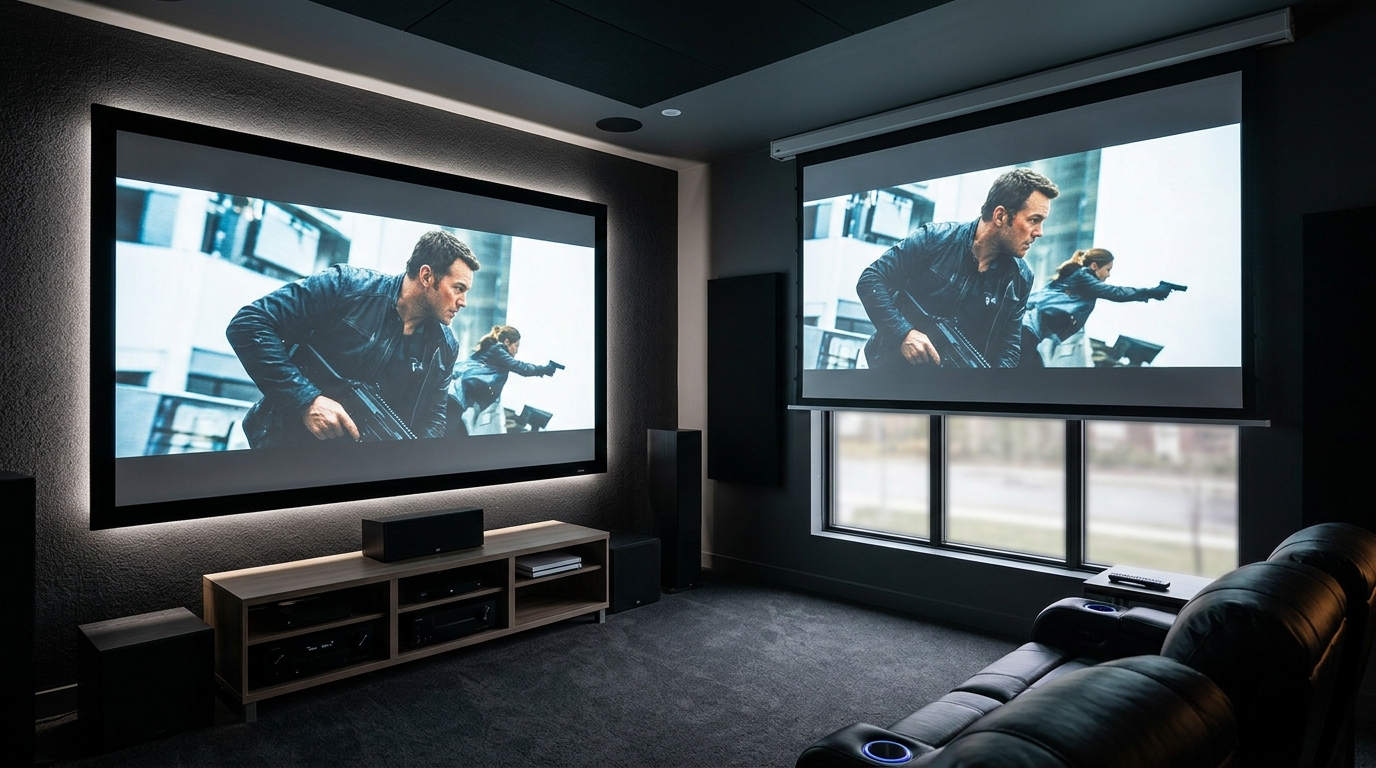
You've picked out your projector, measured the room, and now you're staring at screen options that look identical in photos…
Read More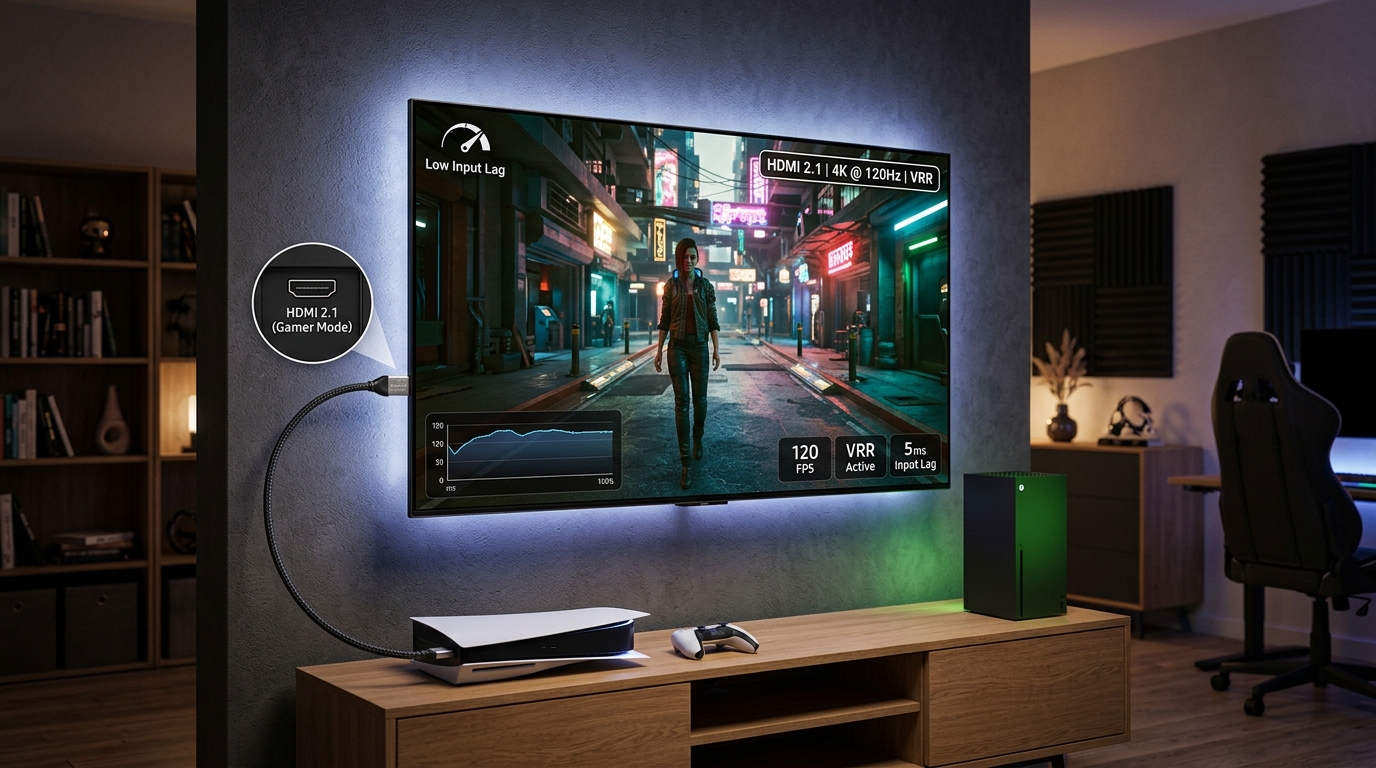
Shopping for a gaming TV feels overwhelming when every spec sheet throws acronyms at you without explaining what they actually…
Read More