If you want that rain effect in a movie to sound like it is falling directly above you, but you…
Read More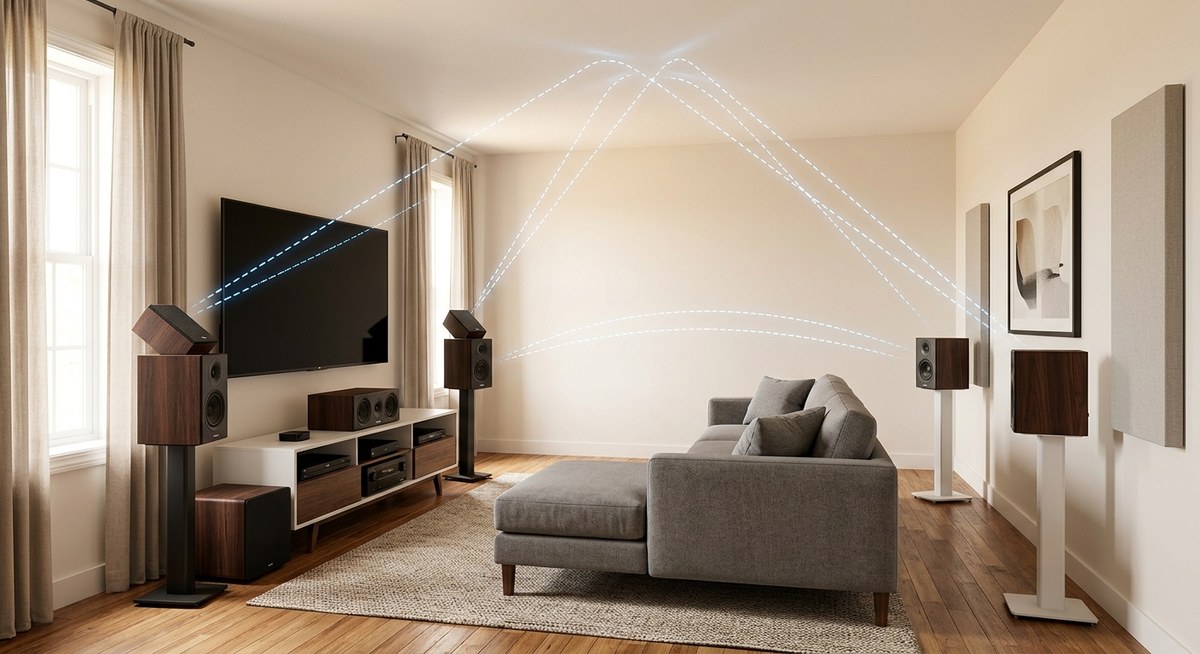
If you want that rain effect in a movie to sound like it is falling directly above you, but you…
Read More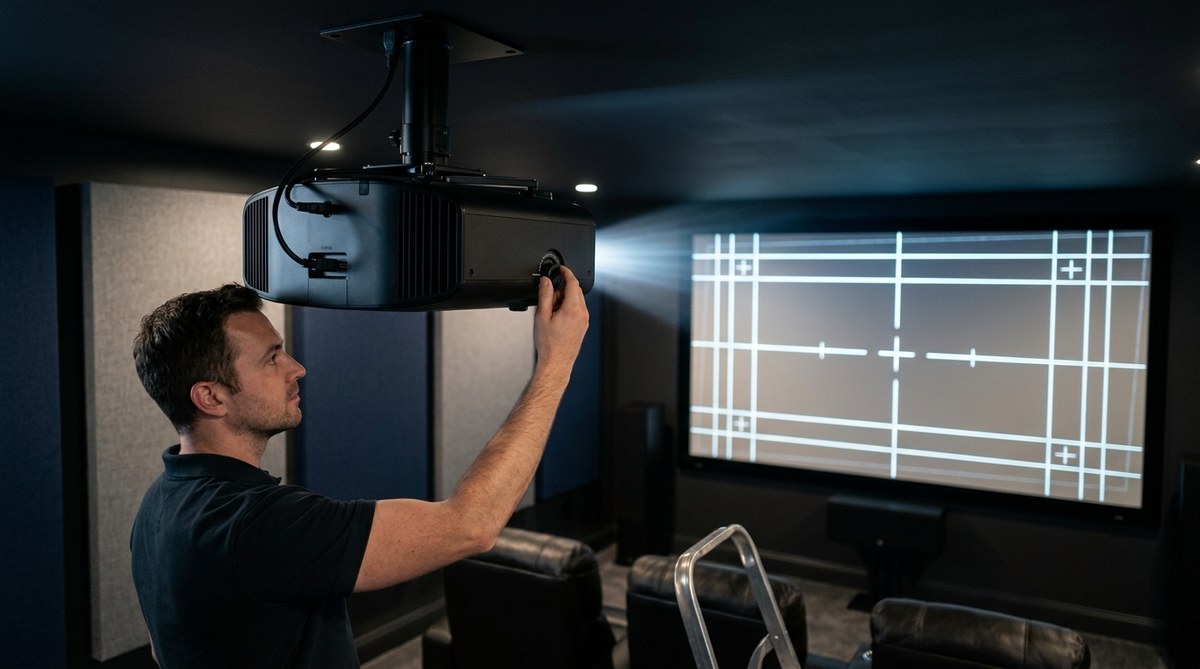
You spent good money on a projector. You ran the cables. You mounted it to the ceiling. You turned it…
Read More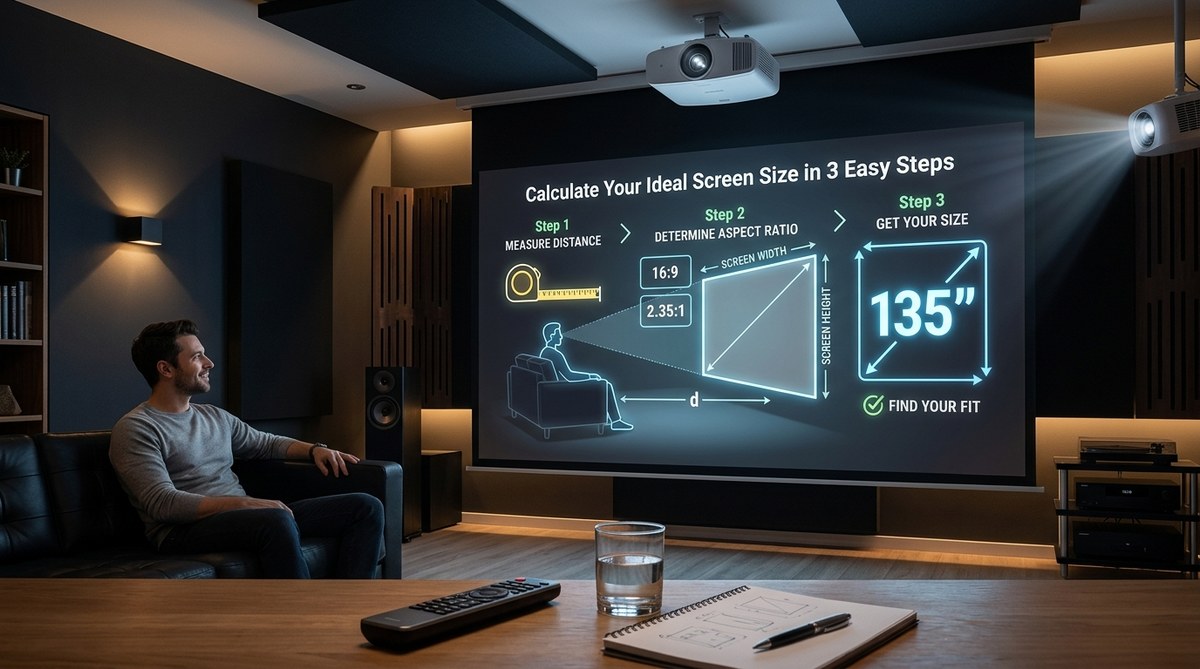
Choosing the right screen size for your projector can feel like a guessing game. You want that big cinematic image,…
Read More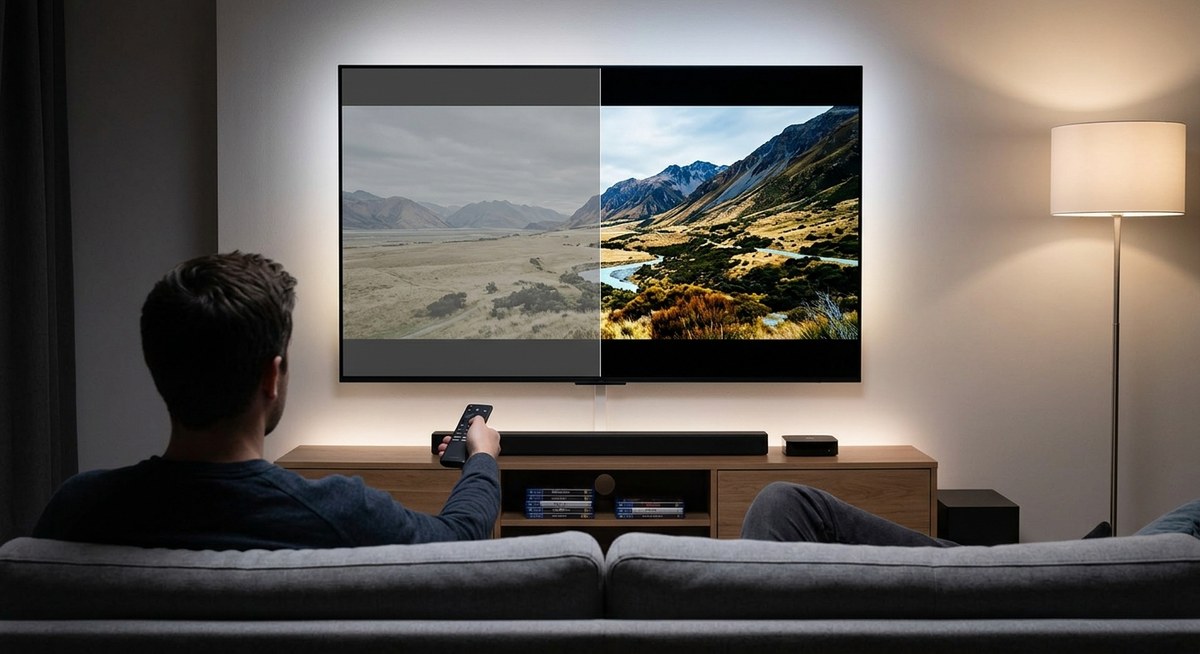
You just upgraded to a 4K TV, maybe even a fancy OLED or Mini-LED. You put on a movie that…
Read More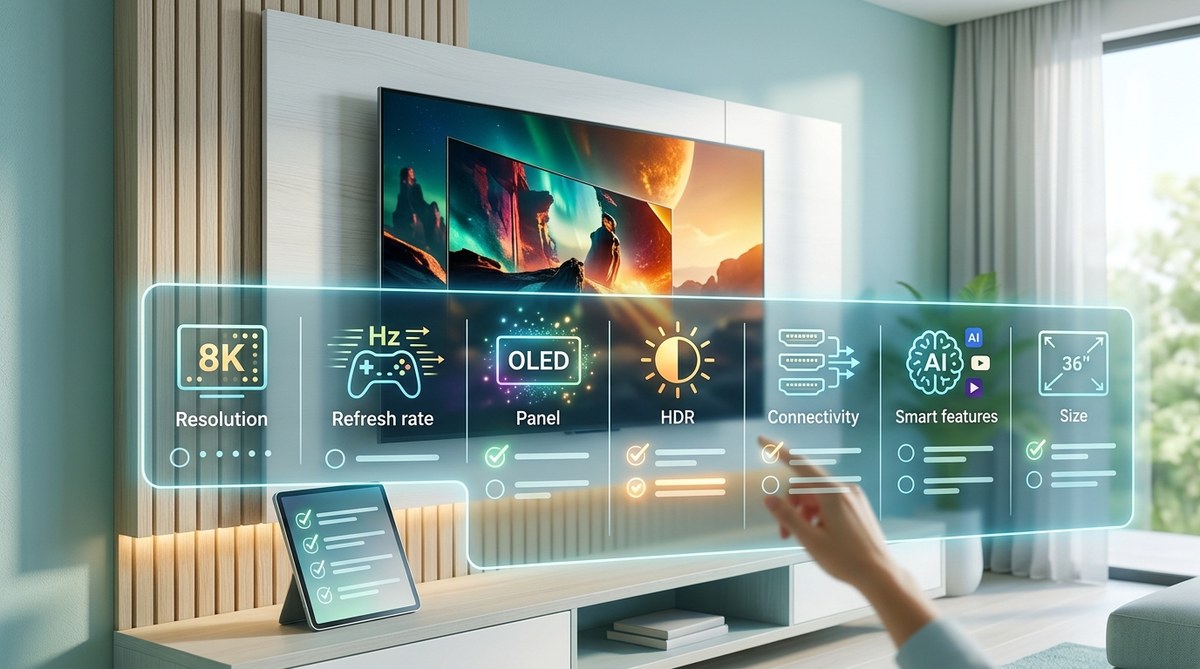
Buying a new television in 2026 is both exciting and overwhelming. The good news is that today's TVs are better…
Read More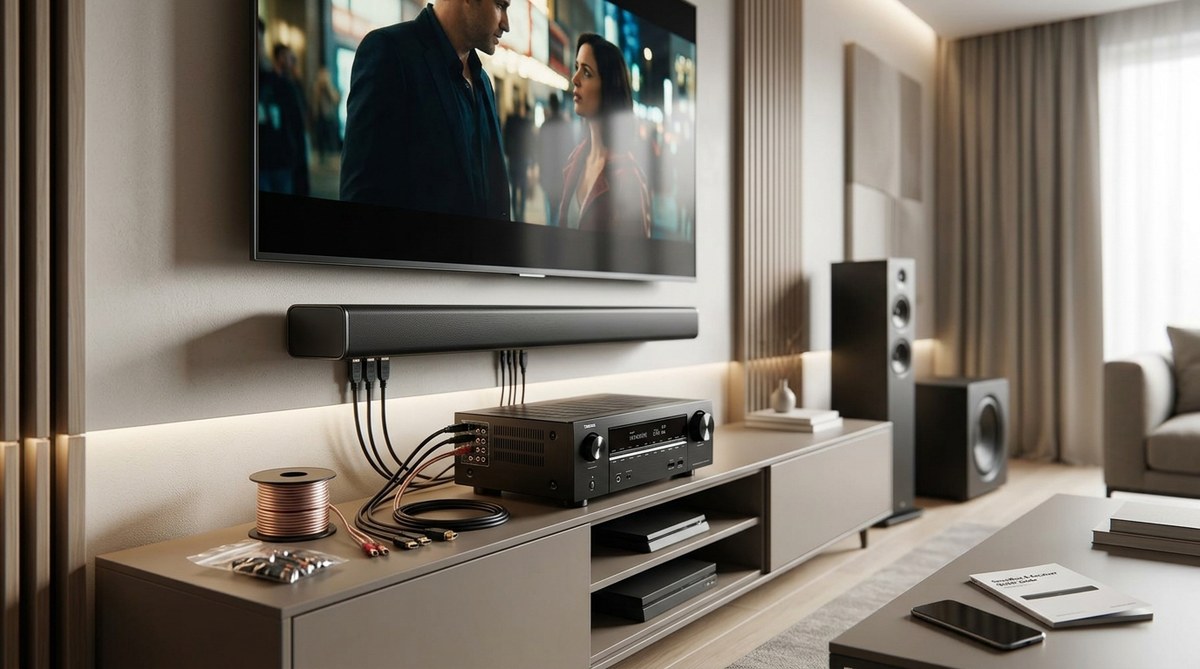
You already own an AV receiver. It powers your speakers and handles all your inputs. But lately, you have been…
Read More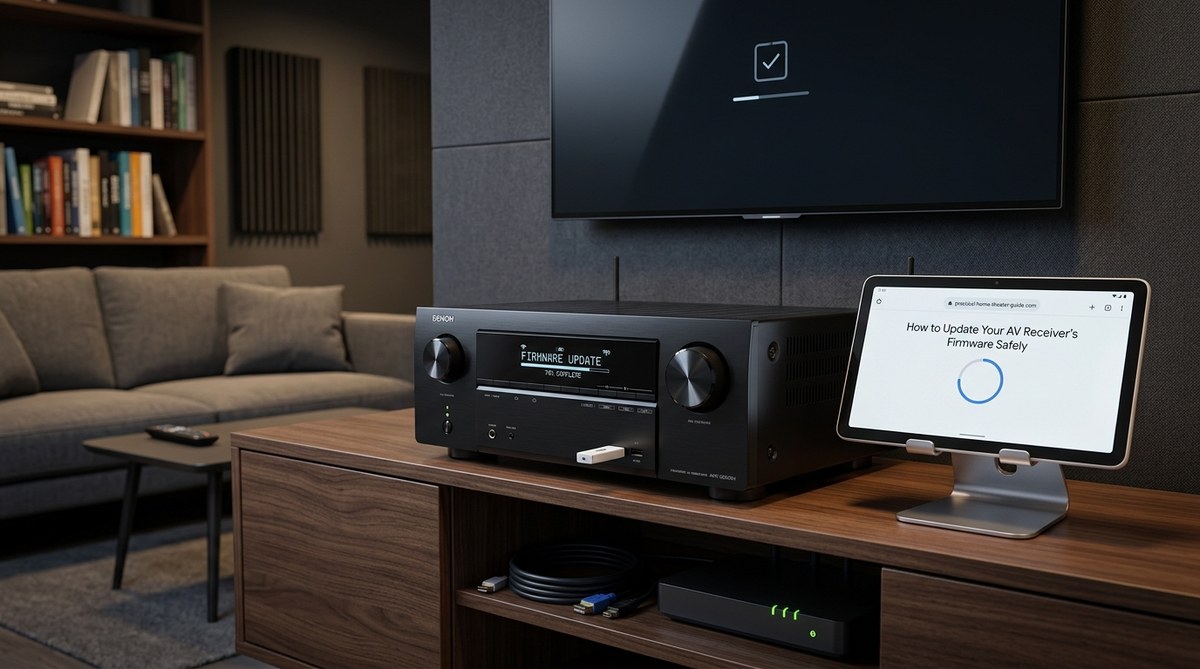
Key Takeaway Updating your AV receiver firmware unlocks new features, fixes bugs, and ensures compatibility with the latest HDMI and…
Read More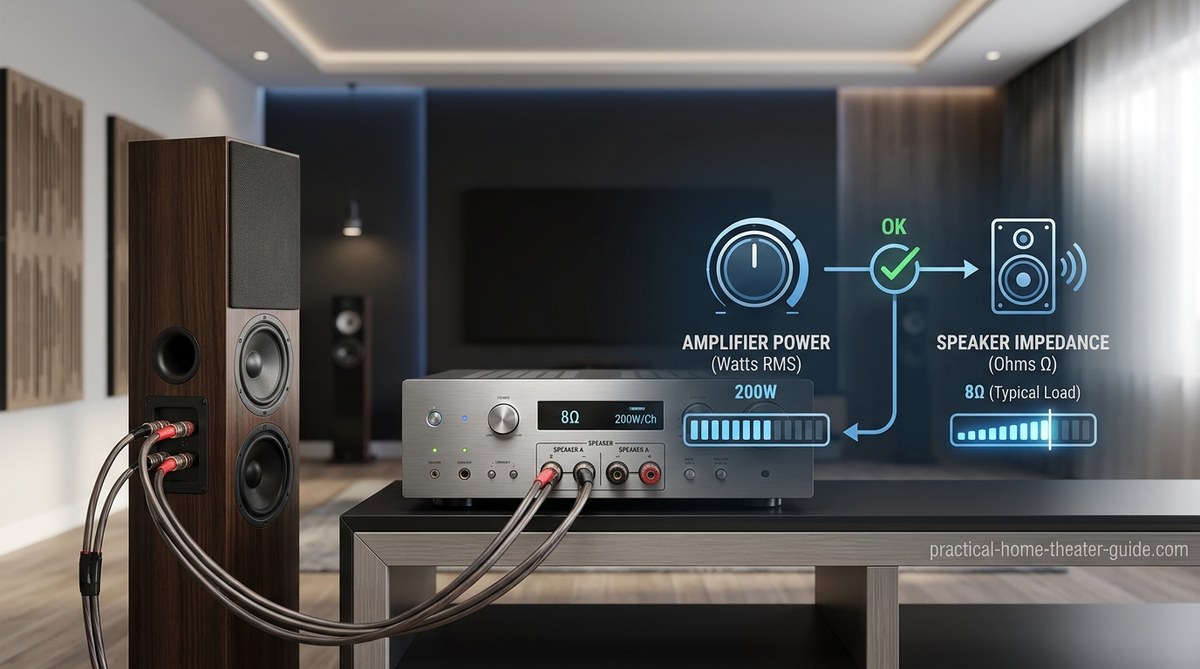
You just unboxed a new set of speakers. They look great, feel solid, and you can't wait to hear how…
Read More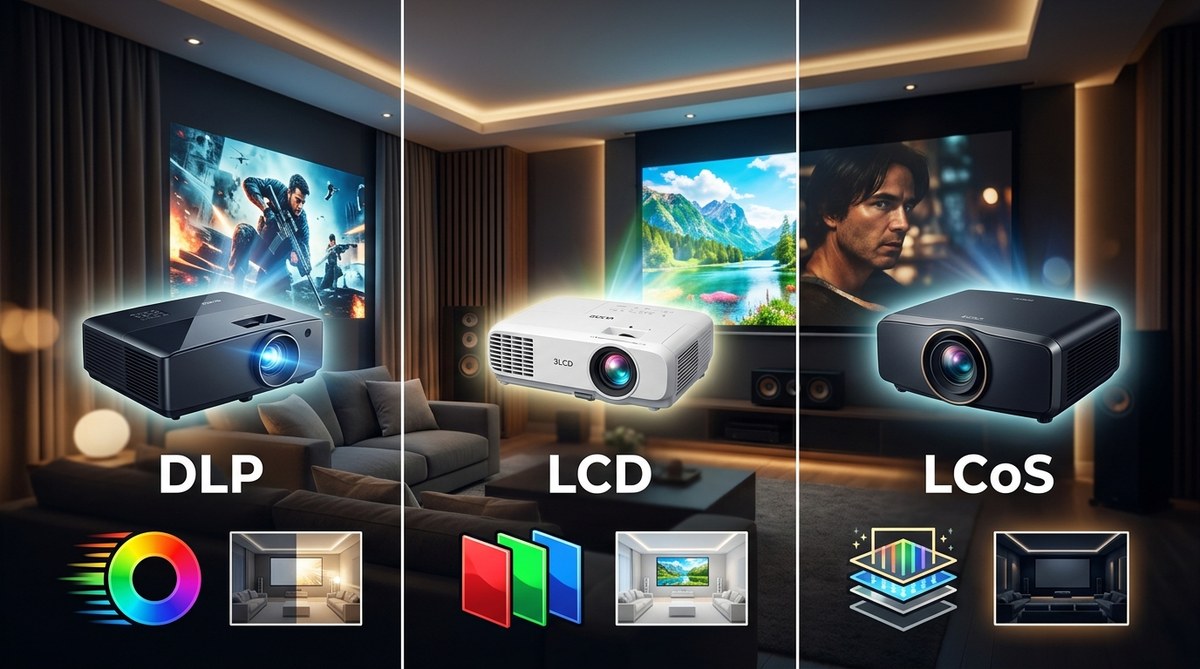
You are standing in the projector aisle (or scrolling through endless tabs) and the acronyms are already making your head…
Read More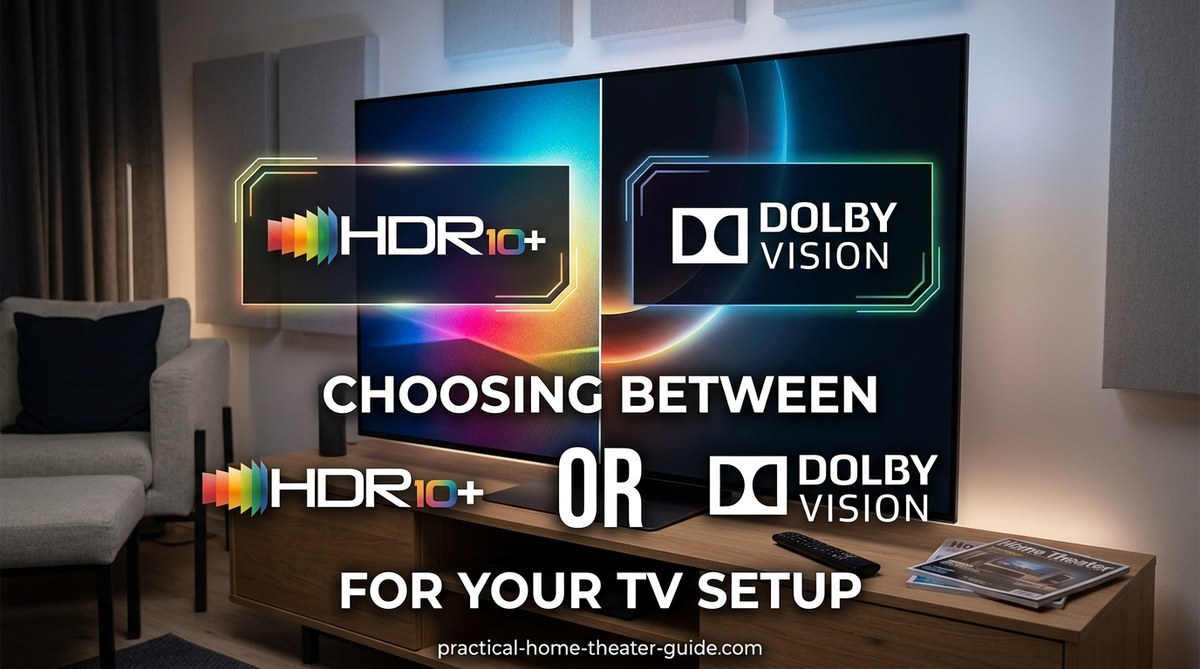
Shopping for a new TV in 2026 means staring at a spec sheet packed with acronyms. You will see HDR10,…
Read More