Home theater enthusiasts understand that achieving perfect sound requires more than just high-quality speakers and an impressive receiver. Room acoustics…
Read More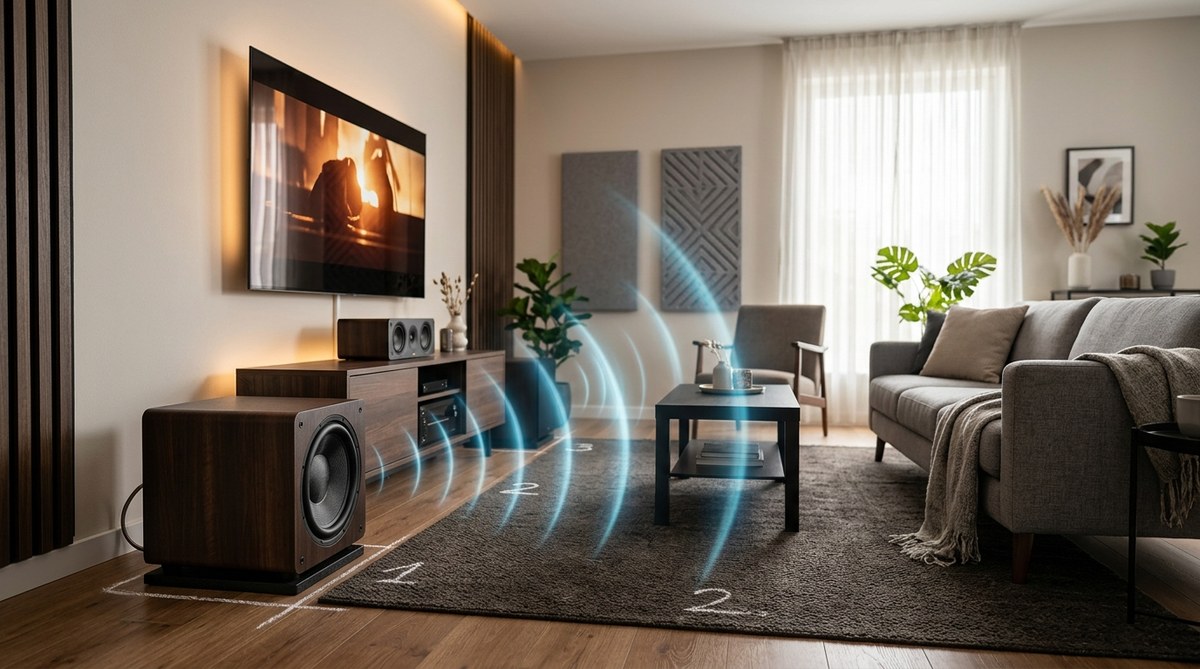
Subwoofer Placement Guide: Finding the Best Spot in Any Room
Getting the most out of your home theater or audio system means paying attention to your subwoofer's placement. Proper positioning…
Read More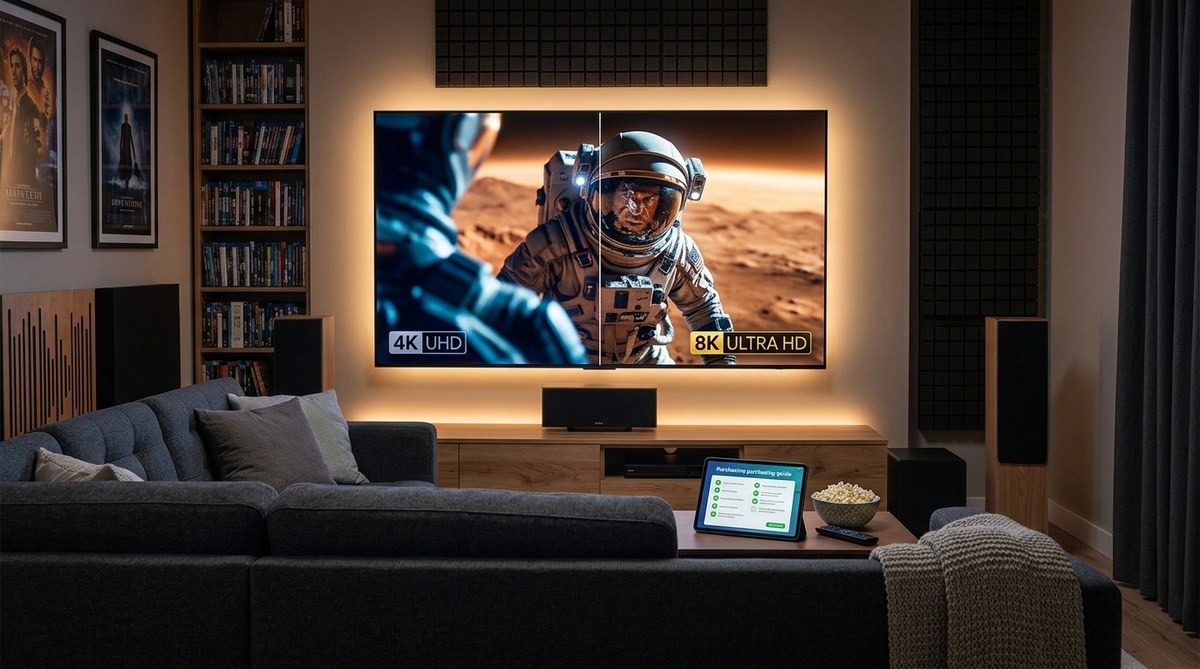
Should You Buy a 4K or 8K TV for Home Theater?
Thinking about upgrading your home theater setup? You might be wondering whether a 4K or 8K TV is the right…
Read More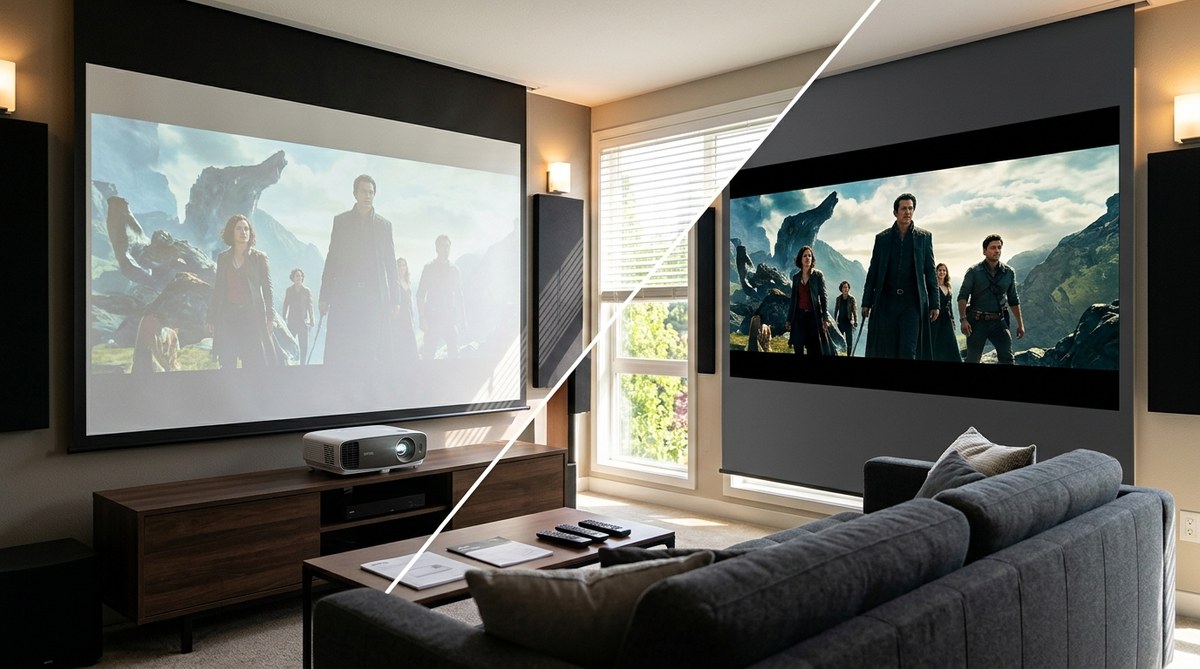
Do You Really Need an Ambient Light Rejecting Screen?
Home theater enthusiasts often ask whether investing in an ambient light rejecting (ALR) screen is worth it. The idea sounds…
Read More
How to Troubleshoot Subwoofer Humming, Buzzing, and Distortion Noises
That low, persistent hum from your subwoofer can ruin an otherwise perfect movie night. The good news is that most…
Read More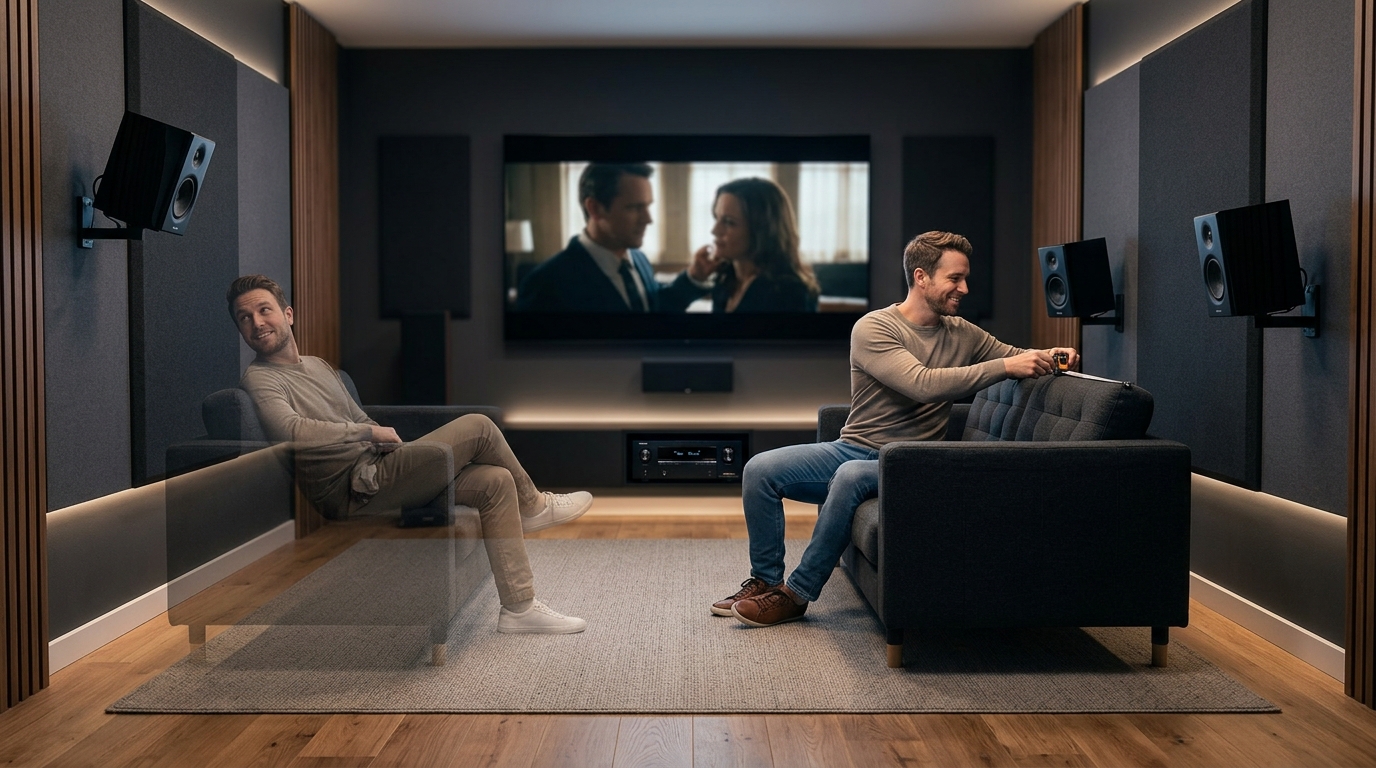
Why Your Rear Speakers Sound Terrible and How to Fix Seating Position
You spent good money on a 5.1 or 7.1 surround sound system, but explosions sound flat and ambient effects feel…
Read More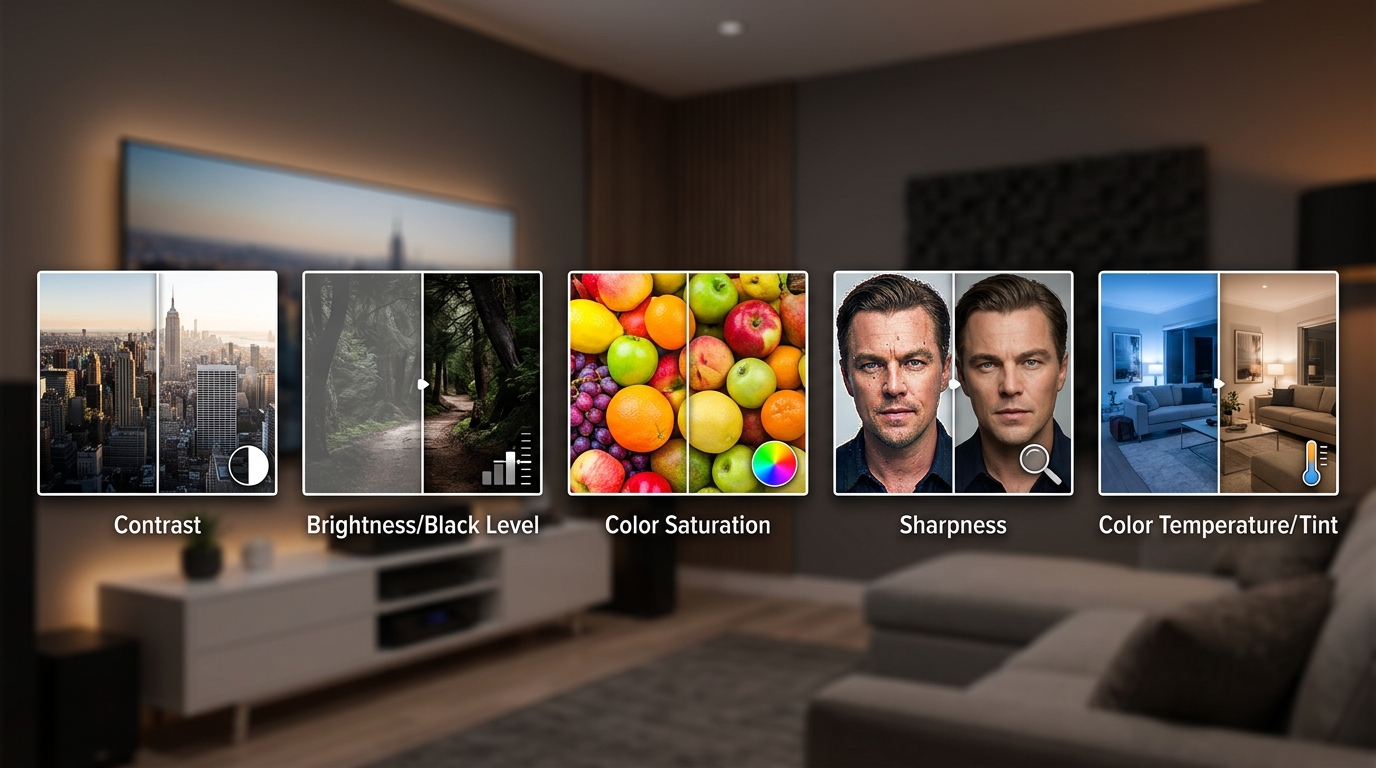
5 Picture Settings You’re Probably Getting Wrong on Your New TV
You unbox your shiny new TV, plug it in, and immediately notice something feels off. Colors look cartoonish. Motion feels…
Read More
How to Label and Organize Your Home Theater Cables Like a Pro
Behind your entertainment center, there's probably a tangled mess of black cables that all look identical. When something stops working…
Read More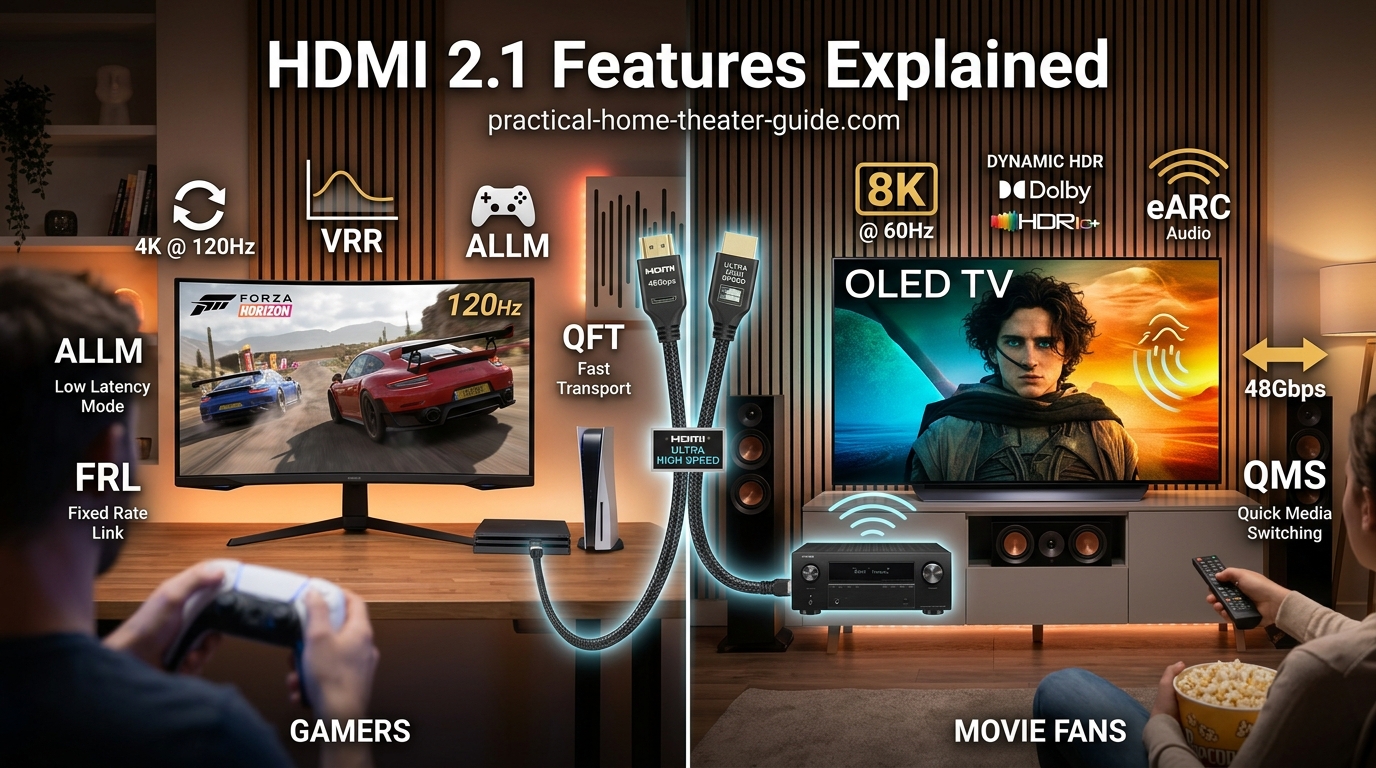
HDMI 2.1 Features Explained: What Gamers and Movie Fans Need to Know
You're standing in the electronics store, staring at two TVs with nearly identical specs. One costs $300 more and lists…
Read More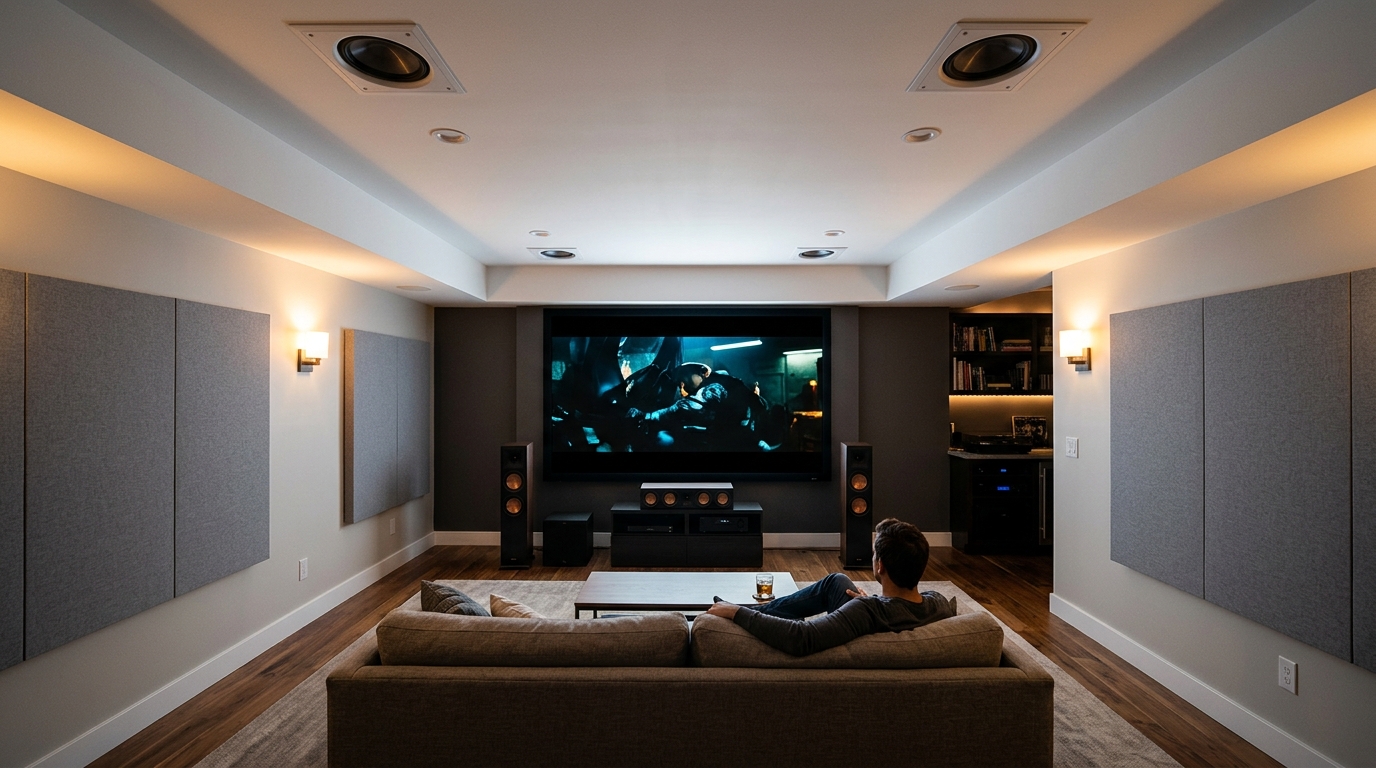
The Complete Guide to Atmos Height Speaker Placement in Real Rooms
Dolby Atmos promises overhead sound that puts you inside the action, but most installation guides assume you have a perfect…
Read More